

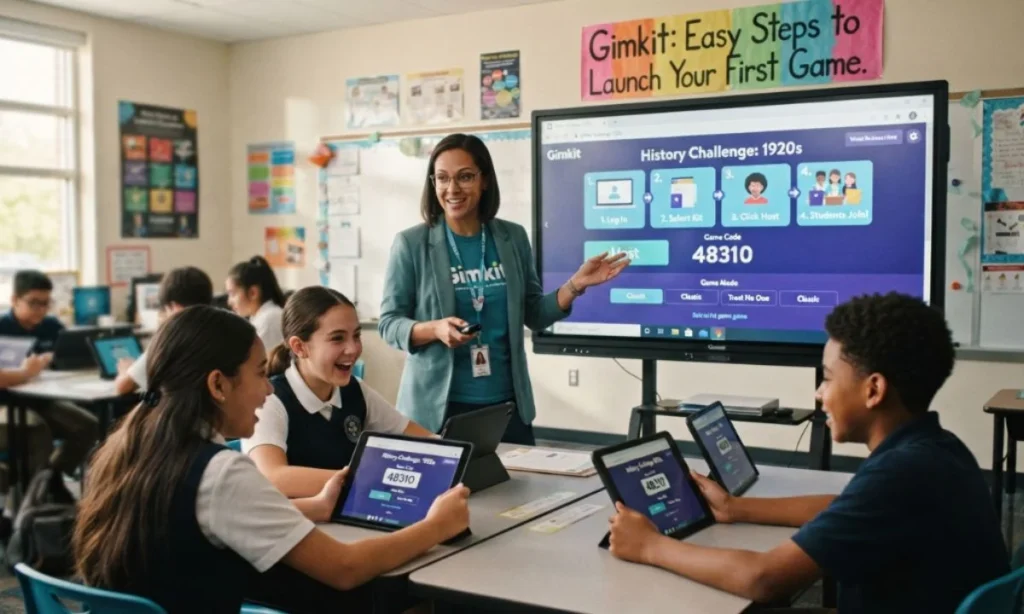
Ready to turn your classroom review session into something students actually get excited about? Gimkit makes that possible. As the host, you’re in control of a live multiplayer quiz game where students answer questions, earn virtual cash, and buy power-ups to stay ahead.
This guide walks you through exactly how to host your first Gimkit game. From setting up your account to reviewing results, we’ll cover every step so you can launch with confidence.
What Is a Gimkit Host?
A Gimkit host is the person who sets up and runs a live game session—usually a teacher, tutor, or trainer. The host controls every aspect of the experience:
Host ResponsibilityWhat It CoversThe KitThe question set that drives the entire sessionGame ModeHow students interact with questions and each otherSession SettingsTime limits, currency, power-ups, late joinsPost-Game DataIndividual performance and class-wide trends
Hosting isn’t just clicking “Start” and stepping back. You shape how the session feels, how long it runs, and what students take away from it. Students join using a simple game code from any device—no app installation required.
How to Create Your Gimkit Account
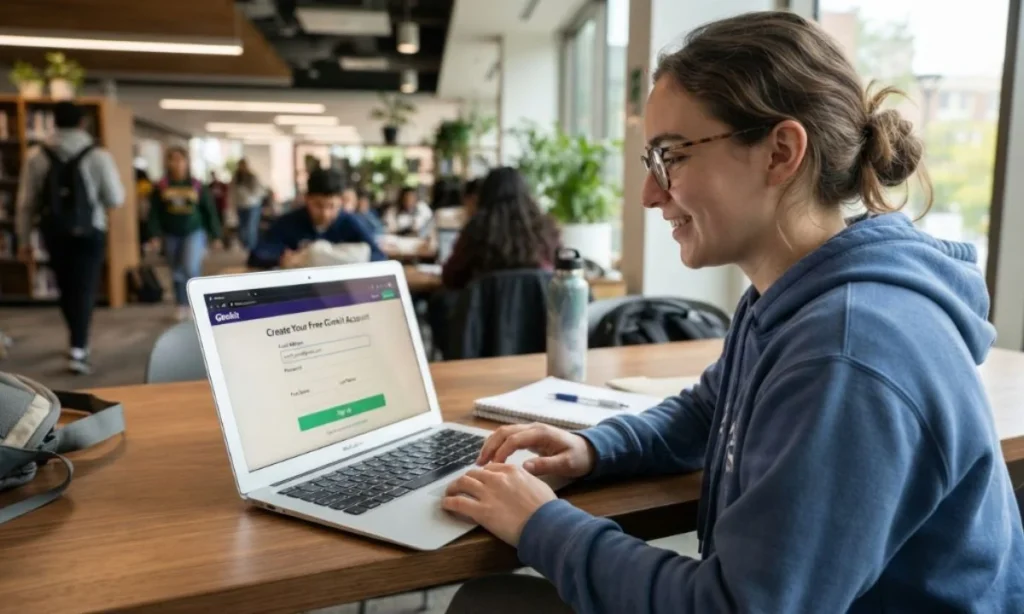
Before you can host, you need an account. Here’s how to set one up:
Step 1: Go to gimkit.com and click Sign Up in the top right corner.
Step 2: Choose Google login for speed, or enter your email and create a password. Select the Educator option when asked about your role—this unlocks class tools from day one.
Step 3: Add your school details like grade level and subject. Gimkit will send a verification email—click the link to activate your account.
Step 4: Land on your dashboard. Free plans give you basic features, while Gimkit Pro (around $5/month when paid annually) lifts limits and unlocks all game modes.
Pro tip: Link your Google Classroom account right away for easy student rostering.
Click Here To Read More:TheSindi.com: Complete Guide to Features, Content, and User Experience 2026
How to Build Your First Kit (Question Set)
A kit is the set of questions students answer during the game. Building one takes just a few minutes.
- From your dashboard, click Kits, then New Kit.
- Give your kit a clear name like “Fractions Basics” or “World Capitals Review.”
- Choose a template—multiple choice is a great starting point.
- Add questions one by one. Type the question, list four answer options, and mark the correct one with a green check.
- Attach images or GIFs to make questions visually engaging. This works especially well for geography, science diagrams, or vocabulary.
Shortcut: Click Import to pull questions from Quizlet, Google Sheets, or a CSV file. Format columns as question, answer choices, and correct answer—Gimkit parses it automatically.
KitCollab: Share a link with students so they can submit questions before the game starts. You review and approve submissions, which gives students ownership of the content before play begins.
Aim for 10 to 20 questions for a 20-minute session. Test the kit in solo mode before going live to catch any errors.
How to Host a Live Gimkit Game (Step by Step)
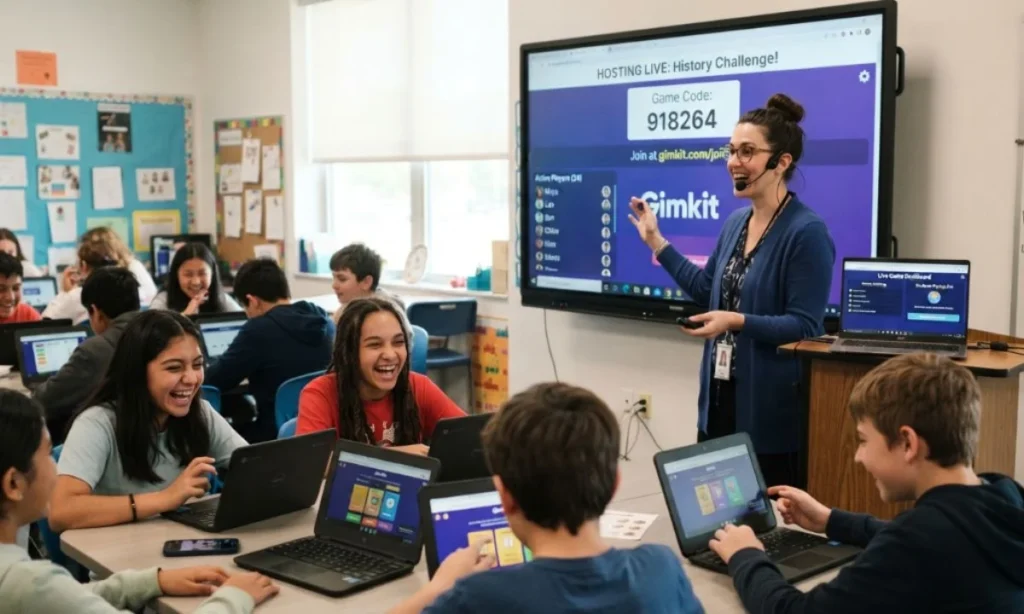
With your kit ready, here’s the exact process to host your first live game.
Step 1: Launch the Host Screen
From your dashboard, find the kit you want to use and click the green Play Live button. You’ll see the mode picker—this is where you choose how the game plays.
Step 2: Choose a Game Mode
Select your mode and click Learn More for details about how it works. Once you’ve picked a mode, it will be outlined in yellow. Click the Continue button in the upper right corner.
Step 3: Configure Game Settings
The game options screen lets you customize the experience:
- Connect a class to track specific students
- Turn on the nickname generator to avoid inappropriate names
- Set game goals—time limit, number of questions, or other ending conditions
- Allow late joins so students can enter after the game starts
Settings vary by game mode. For your first session, keep default settings and adjust later based on what you observe.
Step 4: Get Your Game Code
Click Continue again, and a new lobby tab opens with your game code displayed prominently. This four-to-five-digit code is what students use to join.
Step 5: Share the Code with Students
Students join at gimkit.com/join by entering the game code. Share it by:
- Writing it on the classroom board
- Posting it in your chat window for remote learners
- Screensharing the lobby so everyone can see it
You can also click the game code to copy a direct join link, or hover over it to pull up a QR code.
Step 6: Start the Game
Watch the lobby fill as students join. In 2D modes, you’ll see characters appearing on the map. For non-2D modes, use this time to check names and kick anyone with inappropriate entries.
When everyone’s ready, click Start Game—and the fun begins.
Popular Game Modes Explained
The mode you choose shapes how the class experiences the game. Here’s a breakdown of the most popular options:
ModeHow It WorksBest Used ForClassicAnswer questions, earn cash, buy upgradesFirst sessions, quick reviews, any topicTrust No OneSocial deduction—students identify imposters while answering questionsCritical thinking, discussion-heavy topics2D World ModesMove through a map, earn resources, spend on upgradesLonger sessions, visual learners, high engagementTeam BattleGroups work toward shared objectivesCollaboration, mixed-ability classes
Classic is the safest starting point. Students begin answering immediately, and the incentive structure becomes clear within the first minute. For experienced hosts, 2D modes like Fishtopia or Snowbrawl offer more immersive gameplay—students explore maps, battle opponents, and answer questions to advance.
Trust No One (Gimkit’s Among Us-style mode) adds social deduction to the mix. One or two students are secretly imposters, and everyone else must answer questions, complete tasks, and vote on who to eliminate. This mode gets loud—perfect for high-energy review days.
Managing the Game as a Host
Once the game starts, your control panel lets you manage everything in real time:
- Pause the game to give instructions or address confusion—resume with one click
- Adjust question timing from 10 to 60 seconds based on pace
- Monitor the leaderboard to see who’s pulling ahead or falling behind
- View the player list to track participation
- Control music and sound effects volume
Common issue: If the game lags or freezes mid-round, weak Wi-Fi is usually the culprit—classroom networks sharing 20+ devices can struggle under load.
Reviewing Results After the Game
When you click End Game, leaderboards freeze and points lock in. This is where the real teaching insights begin.
Post-game reports show you:
- Per-question accuracy rates—identify which concepts students found tricky
- Time spent per question—spot where students hesitated
- Individual student stats—scores, correct answers, and participation
- Class-wide trends—overall strengths and weak areas
Export reports as CSV for grades or share certificates to top performers. Use the data to shape your next lesson and reteach concepts that students struggled with.
Gimkit Basic vs. Gimkit Pro: Which Plan Do You Need?
FeatureGimkit Basic (Free)Gimkit ProKit buildingYesYesLive gamesYesYesAvailable modesSomeAll modesLocked premium modesNoYesAdvanced reportsLimitedFullStudent limitsBasicUnlimited
Gimkit Pro costs $14.99/month or $59.88/year (effectively $4.99/month). The free plan is perfect for testing the waters—upgrade when you want all modes and deeper analytics.
Tips for Your First Successful Gimkit Game
Here’s what separates smooth sessions from chaotic ones:
- Prep questions in advance. Rushing through kit creation before class never ends well.
- Test the kit in solo mode before students arrive. Catch mistakes when it doesn’t matter.
- Run a practice round first. Let students explore power-ups and mechanics without score pressure.
- Set clear rules upfront. Explain scoring, cash mechanics, and behavior limits before anyone joins.
- Mix easy and hard questions. Keeps pacing even and prevents discouragement.
- Watch for outside bots. Don’t post game codes publicly—remove unfamiliar names before starting.
- Keep sessions short. 15–20 minutes of game time is the sweet spot for sustained engagement.
Frequently Asked Questions
Do students need accounts to join a Gimkit game?
No. Students can join as guests using just the game code—no account required.
How many students can join a live Gimkit game?
Gimkit supports up to 60 players in live games, making it suitable for entire classes.
Can students join after a game has started?
Yes. Enable late joins in game options so students can enter after the session begins.
What devices work with Gimkit?
Any device with a web browser—phones, tablets, laptops—works without app installation.
What’s the best mode for a first-time host?
Classic mode is the most straightforward and requires no explanation—students start answering immediately.
Can I reuse question kits?
Yes. Once created, kits stay in your dashboard and can be reused across multiple classes and sessions.
How do I end a game early?
Click the End Game button in your host controls to stop the session anytime.
Final Thoughts
Hosting a Gimkit game doesn’t need to be complicated. Start with a simple kit, pick Classic mode, share your game code, and let students dive in. The platform handles the rest.
As you get comfortable, experiment with different modes, adjust settings to match your class’s energy, and use post-game data to guide instruction. Students remember more when they’re actively engaged, and Gimkit delivers that engagement in spades.
Ready to host? Open your dashboard, build a kit, and launch your first game today. Your students will thank you
