

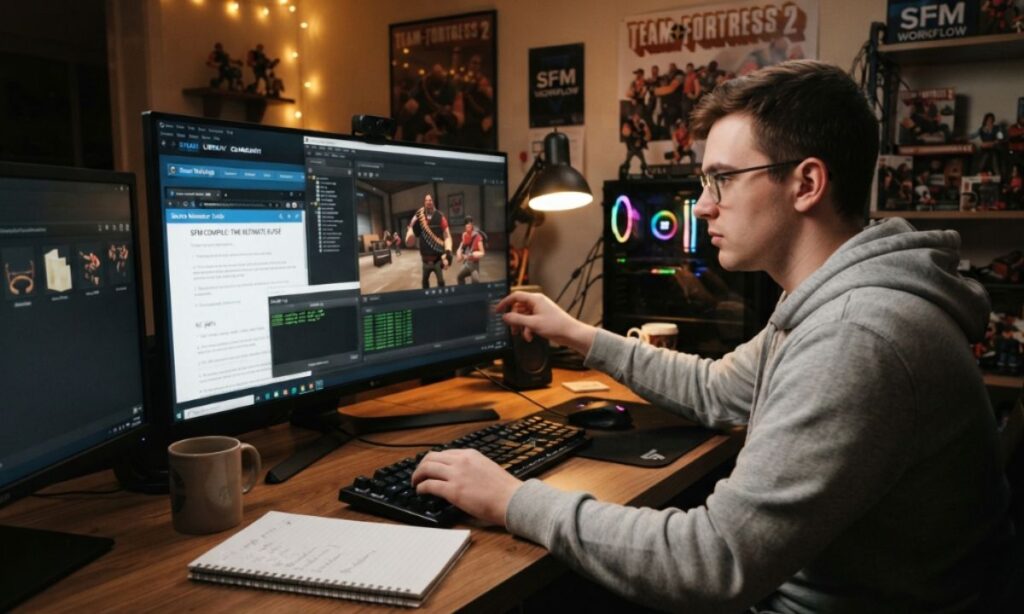
Source Filmmaker (SFM) is one of the most powerful free tools for creating 3D animations, cinematics, and posters using Valve’s Source engine assets. But there’s a wall almost every new user hits sooner or later: you drop in a custom model, hit play, and instead of your character, you get a pink-and-black checkerboard, a crash, or nothing at all. That wall has a name — SFM Compile.
If you’ve ever wondered why your custom Blender model won’t show up in SFM, or why your rendered animation won’t export properly, the answer almost always comes back to compiling. This guide breaks down everything you need to know about SFM Compile in 2026 — what it is, the tools you need, the exact steps to follow, common mistakes, and advanced techniques — so you can go from confused beginner to confident creator.
Understanding SFM Compile
At its core, SFM Compile is the process of converting raw 3D assets — meshes, skeletons, textures, and animations — into a binary format that the Source engine can actually read and render.
Source Filmmaker doesn’t understand files exported straight from Blender, Maya, or 3ds Max. Those programs save projects in their own native formats, packed with modifier data, custom bone structures, and metadata that Source has no way to interpret. Before any of that content can appear inside SFM, it has to be broken down, reorganized, and rebuilt into a format the engine recognizes: the MDL file, along with its supporting VVD, VTX, and PHY files.
Think of it like translating a book into another language. The story doesn’t change, but every word has to be rewritten so the new reader can understand it. That’s essentially what compiling does for your 3D content.
SFM Compile matters for more than just custom characters. It’s involved in:
- Importing custom models or props
- Converting textures into the Source-compatible VTF/VMT format
- Building maps in Hammer
- Exporting a finished animation into a shareable video file
Without this step, your creative work stays as a disconnected pile of files that Source Filmmaker simply cannot use.
Vital Software for SFM Compile
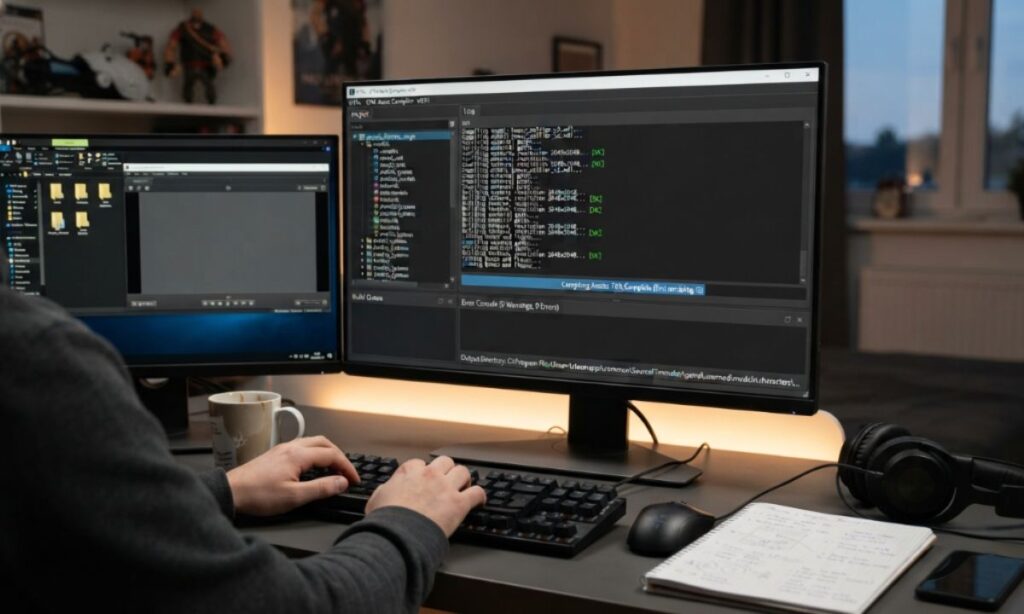
You don’t need an expensive software stack to get started. Most creators rely on a small handful of free, community-trusted tools.
| Tool | Purpose | Beginner-Friendly? |
| Crowbar | Compiles and decompiles MDL files using a simple graphical interface | Yes |
| Studiomdl (Studiomdl.exe) | Valve’s official command-line compiler bundled with SFM/Source SDK | Moderate |
| VTFEdit | Converts image files into Source’s VTF texture format and edits VMT material files | Yes |
| Blender with Source Tools plugin | Prepares and exports SMD/DMX files with proper rigging | Moderate |
| Notepad++ | Writing and editing QC scripts with syntax highlighting | Yes |
Crowbar is generally considered the best entry point because it wraps Studiomdl’s command-line functionality in a clean interface, so you don’t need to memorize compiler flags right away. As you get more comfortable, learning to work with Studiomdl directly gives you finer control over the compile process.
SFM Compile Process Steps
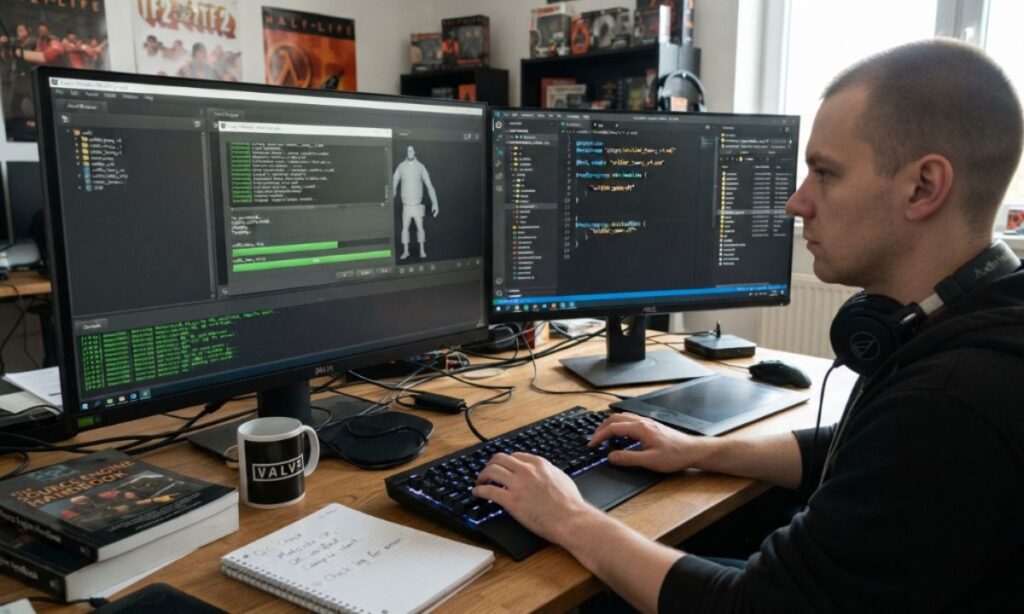
Before diving into the detailed walkthrough, here’s a quick snapshot of the full pipeline:
- Create or acquire your 3D model
- Export source files (SMD or DMX format)
- Prepare and convert materials/textures
- Write the QC file
- Run the compiler (Crowbar or Studiomdl)
- Verify the generated MDL, VVD, VTX, and PHY files
- Import into SFM and test
- Troubleshoot and recompile as needed
Each step depends on the one before it, so skipping ahead is where most beginners run into trouble.
Click Here To Read More: SnapJotz.com Explained: Features & Benefits (2026 Guide)
SFM Compile at a Glance
| Aspect | Detail |
| Input files | SMD, DMX, QC, image textures |
| Output files | MDL, VVD, VTX, PHY |
| Primary compiler | Studiomdl.exe |
| GUI alternative | Crowbar |
| Texture format required | VTF + VMT |
| Recommended polygon count | Under ~60k for characters |
| Common failure point | Incorrect QC file paths or missing bone assignments |
This table is a useful reference to keep nearby while you’re compiling — most errors trace back to one of these rows.
Step-by-Step Guide to Using SFM Compile
Step 1: Prepare Your Model
Start with a clean, finalized model. Apply all transforms in your 3D software (scale, rotation, location) before exporting — unapplied transforms are one of the most common causes of distorted models after compiling. Keep the topology reasonable; overly dense meshes will slow down both compiling and playback in SFM.
Step 2: Export to SMD or DMX
Using the Source Tools plugin in Blender (or a similar exporter in your software of choice), export your reference mesh, skeleton, and any animation sequences as SMD or DMX files. Make sure bone names follow Source naming conventions if you intend to reuse existing animations.
Step 3: Convert Your Textures
Source Filmmaker only reads VTF image files paired with VMT material definitions. Use VTFEdit to convert your PNG or TGA textures, then write a matching VMT file that points to the correct texture path.
Step 4: Write the QC File
The QC file is essentially an instruction sheet for the compiler. It tells Studiomdl:
- Where to find the reference SMD/DMX file
- Which texture directory to use
- What animation sequences to include
- Collision model details (if any)
- The model’s output name and folder
A simple, well-organized QC file prevents the majority of beginner compile errors.
Step 5: Run the Compiler
Open Crowbar, load your QC file, and hit compile. If you’re using Studiomdl directly, run it from the command line pointing at your QC file. Watch the log output — it will tell you immediately if something is missing or misconfigured.
Step 6: Test Inside SFM
Load your newly compiled model inside Source Filmmaker. Check that textures display correctly, the skeleton moves as expected, and there are no missing pieces or stretched geometry.
Step 7: Troubleshoot and Recompile
If something looks wrong, don’t panic — recompiling is a normal part of the process, even for experienced creators. Fix the specific issue in your QC file or source assets and run the compiler again.
What Is SFM Compile and How Does It Work?
In simple terms, SFM Compile is the bridge between your 3D creative work and the Source engine itself. It takes raw geometry, texture references, skeletal data, and animation information, then triangulates the mesh, calculates bone weights and vertex normals, links the correct material files, and packages everything into a compact set of files the engine can load instantly.
The process is driven almost entirely by the QC file, which acts as a recipe telling the compiler exactly what to do with each piece of your asset. Behind the scenes, Studiomdl reads this recipe, processes each referenced file, and outputs the MDL model along with its companion files — VVD (vertex data), VTX (optimized triangle strips), and PHY (physics/collision data).
Once compiled, the model behaves like any other native SFM asset: it can be posed, animated, lit, and rendered without any further conversion.
What Are the Right Practices for SFM Compile?
Following a few best practices will save you hours of frustration:
- Keep your folder structure organized and consistent — matching the expected Source directory layout avoids path errors
- Apply all transforms before exporting your model
- Keep polygon counts reasonable for smooth performance in SFM
- Always decompile a working model first to study a proven QC structure
- Compile a simple static prop before attempting a fully rigged character
- Back up your source files before every recompile
- Test frequently instead of making a dozen changes at once and compiling only at the end
Common Errors of SFM Compile
| Error | Likely Cause | Fix |
| Purple-and-black checkerboard texture | Missing or misnamed VTF/VMT file | Recheck texture paths in the QC and VMT files |
| Model won’t load in SFM | Incorrect file path in QC | Verify all directory references match your folder structure |
| Compile failed with no output | Syntax error in QC file | Review the compiler log line by line |
| Distorted or stretched mesh | Unapplied transforms before export | Apply transforms in your 3D software before exporting |
| Missing animations | Sequence not referenced in QC | Add the correct $sequence line pointing to your animation SMD |
| Model appears but doesn’t move | Bone naming mismatch | Rename bones to match Source skeleton conventions |
Most compile errors are readable directly from the compiler’s log output — learning to read that log is one of the fastest ways to level up your troubleshooting skills.
Sophisticated SFM Compile Techniques
Once you’re comfortable with the basics, a few advanced techniques can improve both quality and efficiency:
- Level of Detail (LOD) models — Compile multiple mesh versions at different polygon densities so SFM automatically swaps to a lower-detail version at a distance, improving performance
- Custom collision models (PHY) — Build simplified collision meshes separately from your visual mesh for more accurate physics behavior
- Multiple bodygroups — Use bodygroups in your QC file to let a single compiled model support interchangeable parts, like different outfits or accessories
- Flex/shape key support — Import facial shape keys for more expressive character animation
- Batch compiling — Use Crowbar’s batch feature to recompile several models at once when making repeated fixes across a project
These techniques aren’t necessary for a first project, but they’re worth exploring once your fundamentals are solid.
SFM Compile Workflow for Beginners: Where to Start?
If the whole process still feels overwhelming, here’s a realistic starting point:
- Spend time animating with SFM’s built-in Team Fortress 2 assets first to learn the timeline, lighting, and camera tools
- Download Crowbar and VTFEdit — together they cover most beginner needs
- Decompile an existing, working model to study its QC file structure
- Start with a simple static prop rather than a rigged character
- Get that one prop working end-to-end before attempting anything complex
- Lean on community resources — the Source Filmmaker subreddit, Steam Workshop forums, and dedicated model repositories are full of working examples
Patience matters here. Almost everyone’s first few compiles fail, and that’s a normal part of learning the workflow rather than a sign you’re doing something wrong.
Frequently Asked Questions
What file formats does SFM Compile output actually?
It produces an MDL file along with supporting VVD, VTX, and PHY files that SFM loads together as one model.
Do I need to know coding to use SFM Compile?
No — QC files use simple, readable commands rather than programming, and tools like Crowbar handle most of the technical work.
Can I compile a model without a skeleton?
Yes, static props only need a mesh, texture reference, and an idle sequence placeholder.
Why does my model show a checkerboard texture?
This almost always means the VTF/VMT texture files are missing or the paths in your QC file are incorrect.
Is Crowbar better than Studiomdl for beginners?
Crowbar is easier to start with since it provides a graphical interface, while Studiomdl offers more direct control once you’re experienced.
How long does compiling usually take?
Simple props compile in seconds; complex rigged characters with multiple animations may take longer depending on your system.
Can I use models from other games in SFM?
Yes, but they typically need to be reprocessed and recompiled since most other engines don’t use Source-compatible formats.
Conclusion
SFM Compile can feel intimidating the first time you encounter it, but it’s really just a translation step — turning your creative 3D work into a language Source Filmmaker understands. Once you’ve compiled a single simple prop successfully, the entire process starts to click. From there, moving on to rigged characters, custom textures, and advanced techniques like LODs and bodygroups becomes a natural progression rather than a mystery.
Start small, study working examples, and don’t be discouraged by early compile errors — they’re part of every creator’s learning curve. With the right tools and a bit of patience, SFM Compile stops being a barrier and becomes just another skill in your animation toolkit.
